by Jaryn Rowland | Jul 7, 2021 | Blog, Recipes
Red Plum Pizza

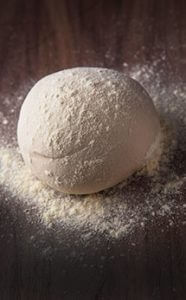

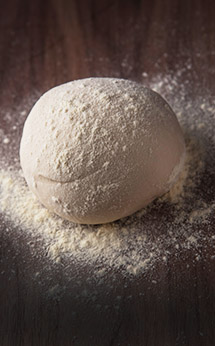
This pizza is so delicious and satisfying. It is the perfect way to showcase red plums this season (currently on sale) – and it’s super easy to make. Use the local favorite, Alfresco Pasta Pizza Dough (found in our freezer section), or your favorite brand.
Alfresco pizza dough (thawed according to package)
2 ripe red plums sliced
1/4 cup of shredded mozzarella
1/8 cup shredded Parmesan
1/4 red onion sliced thinly
2 slices of cooked bacon chopped
Basil leaves
Pizza oil:
1/4 cup extra virgin olive oil
1/8 teaspoon onion powder
1/8 teaspoon Italian seasonings
Pinch of red pepper flake
Pinch of salt
Roll out pizza, brush with pizza oil. Leave an inch around the edge. Add a layer of Parmesan and mozzarella (save a little for the top at the end), chopped bacon, red onions and plums. Top with the last of the cheese and a few basil leaves.
Preheat oven to 450 degrees
Cook pizza for 5 minutes turn it and cook for another 5 minutes. Check and cook additional until golden brown and delicious!
by Jaryn Rowland | Aug 13, 2020 | Recipes
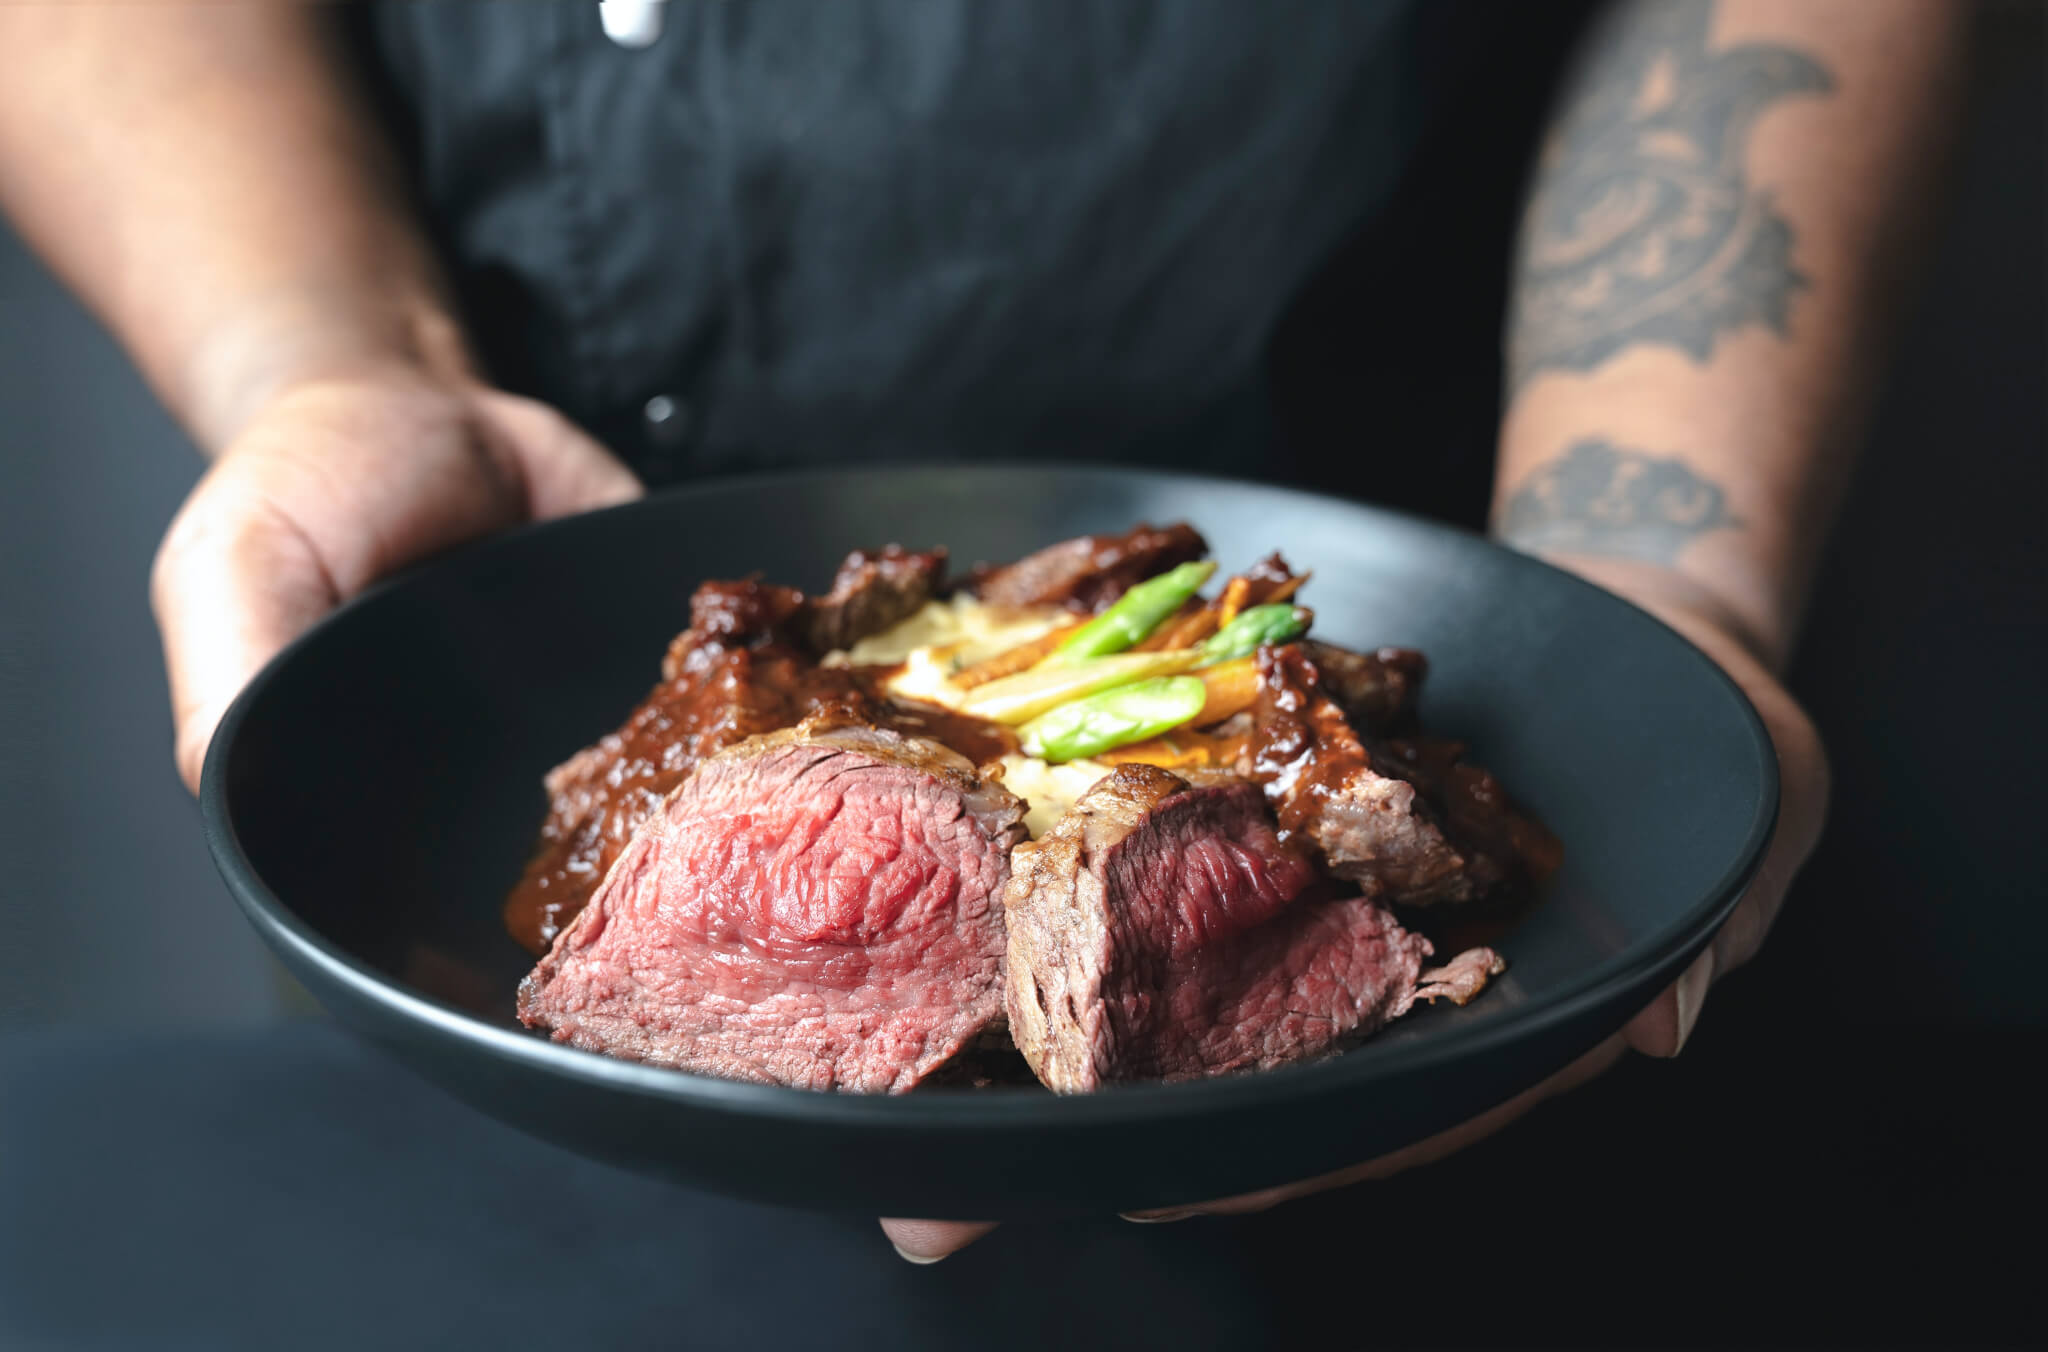
Filet Mignon With Mushrooms and Madeira Wine Sauce

This recipe is the perfect comfort food and a great boost of protein. If you can’t find Madeira, you can substitute port or even a dry red wine. It just won’t have the nuttiness the Madeira brings.
INGREDIENTS
-
- 3 tablespoons butter
- 2 tablespoons olive oil
- 12 ounces button mushrooms, thinly sliced
- 1/2 cup minced shallots (about 3)
- 4 garlic cloves, minced
- 1 tablespoon chopped fresh thyme
- 4 5-ounce filet mignon steaks (each about 3/4 inch thick)
- 1/2 cup Madeira
- 1 1/2 cups canned beef broth
- 1/2 cup whipping cream
PREPARATION
- Melt 2 tablespoons butter with 1 tablespoon oil in skillet over medium heat. Add mushrooms and sauté until tender, about 10 minutes. Add 1/4 cup shallots and half of garlic and sauté until shallots are soft, about 3 minutes. Toss in thyme; season with salt and pepper. Transfer mushroom mixture to medium bowl.
*
- Melt remaining 1 tablespoon butter with 1 tablespoon oil in same skillet over medium-high heat. Crack salt and pepper over the steaks. Add to skillet and cook to desired doneness, about 3 minutes per side for medium-rare. Transfer steaks to plate. Add remaining 1/4 cup shallots and garlic to same skillet. Sauté 2 minutes. Add Madeira and boil until reduced by half, about 3 minutes. Add broth and boil until mixture is reduced to 2/3 cup, about 6 minutes. Add cream and boil until sauce thickens slightly, about 2 minutes. Stir in mushroom mixture. Season sauce to taste with salt and pepper. Return steaks to skillet and cook until heated through, about 1 minute. Transfer to plates. Spoon sauce over and serve.
by Jaryn Rowland | Jul 14, 2020 | Recipes
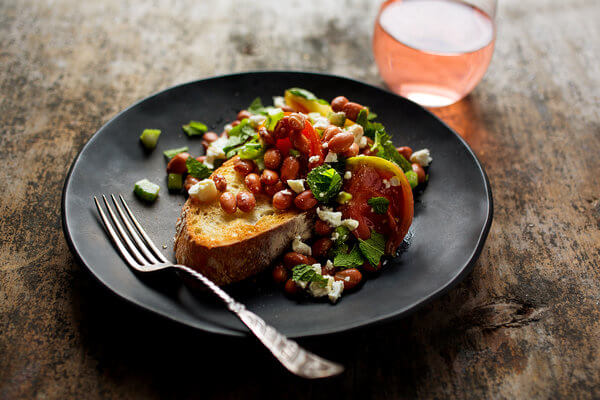
Tomato Salad With Red Beans
MARTHA ROSE SHULMAN
Recipe from the New York Times, here.
- YIELD 6 servings
- TIME 10 minutes

Photo by Andrew Scrivani for The New York Times
This colorful tomato salad is bulked up with red or pink beans. But it’s not a bean salad with tomatoes; it’s a tomato salad with beans. I added celery to the mix for its crunchy texture, which is nice against both the juicy tomatoes and the soft beans, and because I love its herbal, crisp and refreshing flavor.
INGREDIENTS
- – 2 pounds ripe sweet tomatoes, preferably a combination of red, green and yellow heirlooms
- – Coarse sea salt
- – 1 ½cups cooked red or pink beans (1 15-ounce can, drained and rinsed)
- – ½ cup finely diced celery
- – 1 small garlic clove, puréed in a mortar and pestle or put through a press
- – 2 ounces crumbled feta (about 1/2 cup), plus additional for garnish
- – 2 tablespoons chopped fresh mint, plus additional for garnish
- – 2 tablespoons sherry vinegar
- – ¼ cup extra-virgin olive oil
- – 3 to 4cups baby arugula (optional)
- – 12 barley rusks or 12 small but fairly thick slices toasted whole wheat country bread
PREPARATION
- Cut tomatoes into wedges. If tomatoes are very large, cut wedges in half across the middle. In a large bowl, toss tomatoes with salt, beans, celery, garlic, feta, mint, vinegar and olive oil. Mixture will become quite juicy quickly if tomatoes are ripe.
- Line a platter or plates with arugula and arrange rusks or toasted bread on top. Use 2 pieces of bread per serving. Top with tomatoes and juices. Garnish with additional feta and mint, and serve.
Tip
- Salad can be prepped ahead but do not salt or toss with dressing until shortly before serving or tomatoes will release too much juice.
by Jaryn Rowland | Jul 9, 2020 | Recipes
FOR THE CRUST
- 125 grams all-purpose flour (about 1 cup), more for rolling out dough
- 75 grams fine cornmeal (about 1/2 cup)
- ¼ teaspoon fine sea salt
- 10 tablespoons cold unsalted butter (1 stick plus 2 tablespoons), cut into small cubes
- 35 grams grated extra-sharp Cheddar (about 1/2 cup)
FOR THE FILLING
- 1 ½ pounds different-colored tomatoes, sliced 1/4-inch thick (or halved if cherry or grape tomatoes)
- 1 teaspoon kosher sea salt, plus a pinch
- 2 tablespoons cider vinegar
- 1 tablespoon honey
- ½ bunch fresh thyme sprigs, plus 2 tablespoons chopped fresh thyme leaves
- 2 tablespoons olive oil
- 3 garlic cloves, smashed and peeled
- 65 grams extra-sharp Cheddar, grated (about 1 cup)
- Black pepper, to taste
- 1 large egg
- Flaky sea salt
PREPARATION
- 1) Make the crust: In a food processor, briefly pulse together flour, cornmeal and salt. Add butter and cheese and pulse until mixture forms chickpea-size pieces (3 to 5 one-second pulses). Add ice water 1 tablespoon at a time, up to 6 tablespoons, pulsing occasionally until mixture is just moist enough to hold together. Form dough into a ball, wrap with plastic and flatten into a disk. Refrigerate at least 2 hours.
2) Meanwhile, line a rimmed baking sheet with a double layer of paper towels. Spread out tomato slices in a single layer. Sprinkle with 1 teaspoon salt and let sit for at least 1 hour and up to 3 hours.
3) In a skillet over medium heat, combine vinegar, honey and thyme sprigs and bring to a simmer; let simmer 2 minutes, then transfer to a bowl. Wipe out skillet, then add olive oil and garlic. Cook garlic for 2 to 3 minutes, or until garlic is golden and caramelized. Remove garlic and finely chop. Reserve garlic oil.
4) Line a rimmed baking sheet with parchment paper. Lightly flour a work surface and rolling pin. Gently roll out dough to a 1/4-inch thickness, dusting with flour if dough is sticking. Transfer dough to baking sheet and return to fridge for another 20 minutes.
5) Heat oven to 425 degrees. Pat tomatoes dry with paper towels. Brush tomatoes with honey mixture (reserve the thyme sprigs). Leaving a 3-inch border, distribute cheese, garlic and half the chopped thyme leaves on center of crust. Add black pepper to taste, then layer tomatoes in an overlapping pattern, maintaining the 3-inch border. Drizzle garlic oil over tomatoes, sprinkle with remaining thyme leaves and lay the reserved whole thyme sprigs on top. Gently fold crust up around tomatoes, making a 2-inch border.
6) In a small bowl, whisk egg and 1 teaspoon water. Using a pastry brush, brush egg wash over crust and sprinkle top of crostata with flaky salt. Bake for about 35 minutes, until pastry is deeply golden brown. Serve warm or at room temperature.
by Amy Jones | Jun 8, 2018 | Events, Recipes
Eating a non-GMO diet helps promote efficient organ functions, gastrointestinal and reproductive health, and uncontaminated food. They also foster eco-friendly practices as well by promoting biodiversity and sustainability.
One of the crops most susceptible to bad chemicals like Roundup is corn, which is why it’s so important to only eat non-GMO corn.
Corn is a really important aspect of our daily lives. 90% of corn is grown for animal feed and biofuel, while the other 10% is grown for consumption as a vegetable (sweet corn), as a grain, or as an additive. To easily spot whether or not the corn in your favorite products is non-GMO, look for the Non-GMO Project seal. To learn more about the Non-GMO Project, go to https://www.nongmoproject.org/.
Sweet corn is what we eat as a vegetable, on or off the cob. Corn on the cob is a fun, inexpensive, and healthful delight – just be sure to eat non-GMO!
In honor of National Corn on the Cob day, June 11th, come see us at the Turnip Truck for a great deal on non-GMO, loose, bi-color corn – six ears for just $3! Corn on the cob is so versatile, and easy to make for yourself or for a crowd. What’s your favorite way to eat corn on the cob? We are having a hard time deciding, so here are a few of the best ways we can think of to eat corn on the cob:
Grilled, with a little butter
Elote style
Sprinkled with cinnamon and brown sugar
Cooked, brushed with olive oil and rolled in chopped herbs
Roasted and coated in Old Bay and garlic compound butter
Honestly, raw corn on the cob is really good, but here’s how to cook it:
Remove husks from corn just before cooking. Remove as much of the fine silky thread as you can by running your hands over the cobs and pulling them out. A wet paper towel will remove the rest.
To boil: The trick to cooking fresh corn is to not overcook it. Bring a large pot (a 6-quart stock pot will fit 4 to 5 large ears) full of water to a boil. Add the corn. When the water boils again, which will take a few minutes, the corn will be cooked but still crisp. If you want the kernels softer, let it boil for another three minutes or so. Some people add sugar to the water, but you should not add salt. It will make the corn tough.
To grill: Heat grill to medium. Grill corn, turning occasionally until all sides are charred and kernels are tender, 20 to 25 minutes. If you want to grill in the husks, you’ll need to peel the papery layers back, remove silks and then return husks to original position. Soak corn in water for about 15 minutes to prevent the husks from burning on the grill and to allow corn to steam a bit.
To roast: Corn on the cob can be roasted in the oven for 30 minutes at 375 degrees in or out of the husk. When the corn is in the husk, use the same technique for roasting as you do for grilling, placing the ears directly on the oven rack grate. If you remove the husk, place the ears on a baking sheet and turn them a couple of times during cooking. Corn without the husks can also be wrapped in foil before roasting. This is an especially good technique if you spread with flavored butter first.
by Amy Jones | Jun 4, 2018 | Events, Recipes
June 4th is National Cheese day, and it’s one of our favorite days to celebrate. We love cheese. This year, we are very excited to offer our rotating selection of the best artisan, local, or imported cheeses.
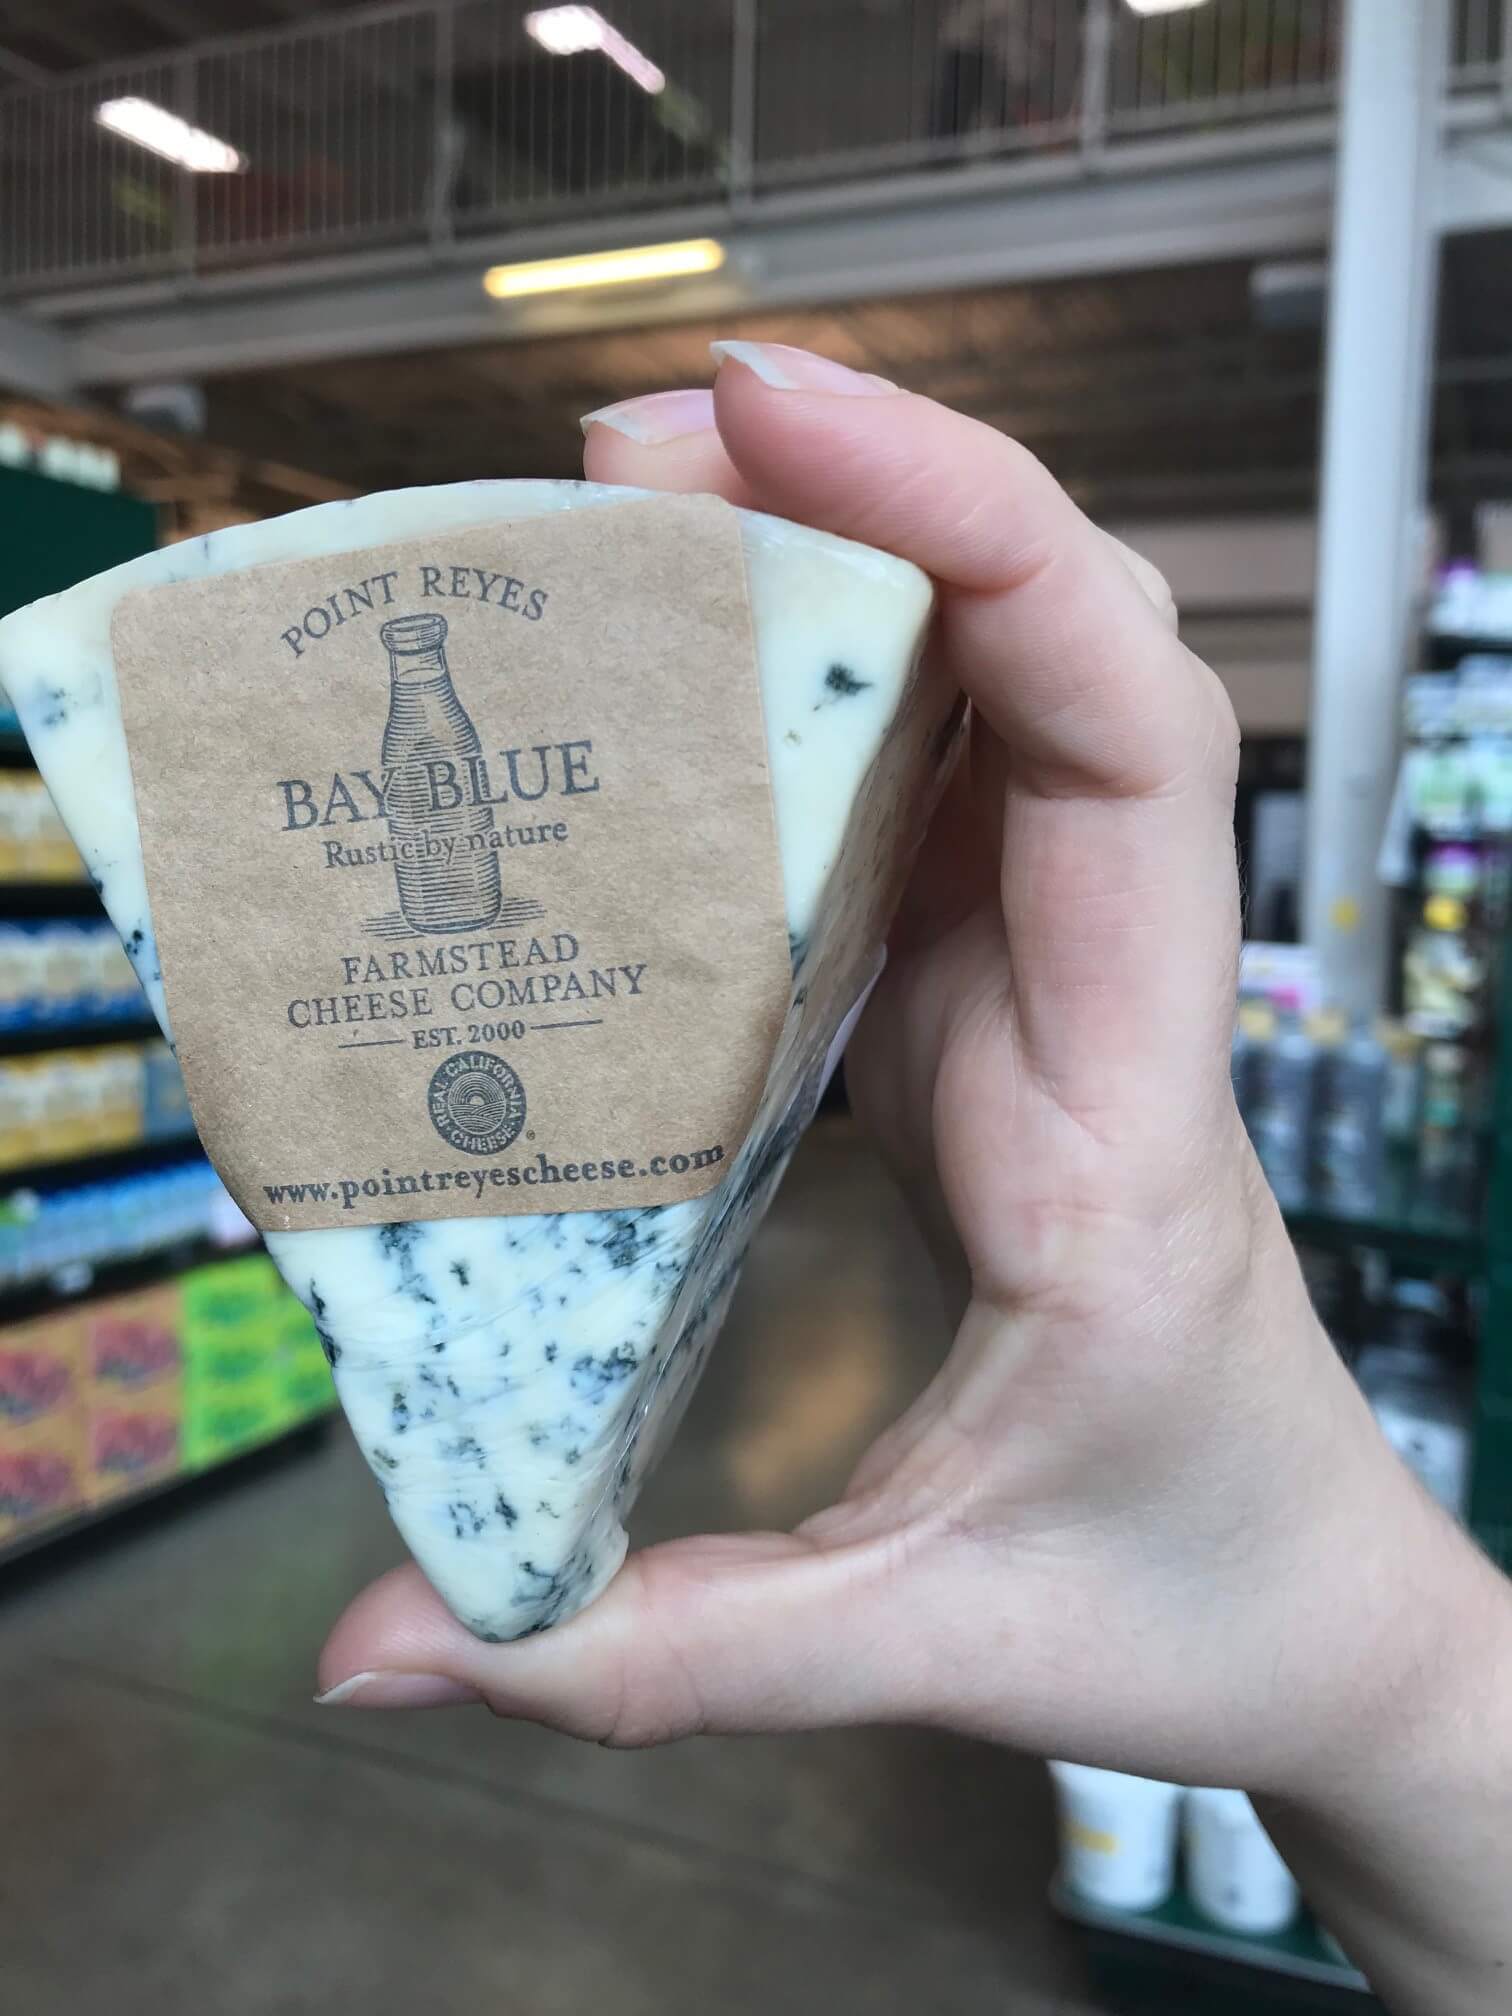
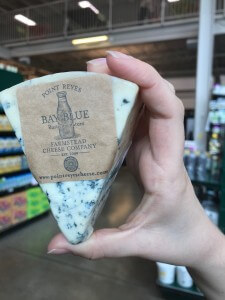
While we are pretty stoked on all of the cheese we sell in our store, some of our absolute favorites come from the Point Reyes Creamery. Point Reyes is a family farm in the San Francisco Bay Area, and their whole cheese-making process from cows to aging happens right on their farm. We’re proud to carry several of their crowd-pleasing varieties, because these cheeses are absolutely delicious, and we think you’ll like them too!
While we can only stock according to the farm’s availability, we like to have at least a couple kinds of Point Reyes’ award-winning cheeses in our cheese case. Right now, we have Point Reyes bleu cheese, Bay Blue, and their versatile table cheese, Toma.
For an elegant, summer dinner without having to turn your stove on, make a mini cheese plate, all supplies available at your local Turnip Truck!
Here’s what you’ll need:
Small-medium hunk of Point Reyes Bay Blue
Medium-large hunk of Point Reyes Toma
Thinly cut Olli Salami
Halved red grapes
Turnip Truck house-made Baguette, sliced on the bias
Dalmatia Fig Spread
Arrange on a cheese board or serving plate and dig in! We think cheese plates are fun because there are no rules and endless combinations, so get creative. Don’t forget the cheese knife and a little spoon for the fig spread.
To complete the meal, pair your Point Reyes Toma with Blue Quail Organic Pinot Noir and the Bay Blue with Predator Old Vine Zinfandel.
Come in to the Turnip Truck on National Cheese Day (June 4) to celebrate the greatness that is cheese, sample our Point Reyes Creamery offerings, scope out our other cheesy specials, and pick up cheese plate necessities!